This section explains how to fill out the datasheet of a new product. Adding a new product to the catalogue, automatically leads you to the new datasheet form.
Another option to access a datasheet that you have started and saved earlier, is by selecting the product from the catalogue (or via the search bar) and to click Edit in the rightmost column of the table.
Now you will have to expand the information. Note that you cannot publish a product unless you have filled in all the mandatory fields, which are marked with a red asterisk. A circle with a number in the left navigation indicates that there are mandatory fields incomplete.
You may want to deliver further information, either as textual description, images or possibly file uploads to strengthen the impression of your product.
Below you can see an example view of what the datasheet for a food product looks like:

The sections on the left vary, depending on which template category was selected for the product.
The refresh icon in the top right corner of the editor allows you to reset the section content to the state of the last save.
You can navigate through the sections by clicking each field in the menu on the left.
Use the Save button to save your changes. You can exit the datasheet via the Close button. If you have not saved your changes before closing the datasheet, or when switching to another section, a prompt will ask you if you are sure that you want to leave the page. If you confirm the prompt and leave the page without saving, all your changes made since the last save, will be lost.
In your user profile you can select whether you want the editor to save automatically, when switching between sections, or not.
Once you have filled in all the mandatory fields, a Publish button will show up at the bottom of the page, that allows you to publish your product information to the shop. To read more about the process of publishing and how to withdraw published products, have a look that this chapter.
To preview what the final datasheet for the customers will look like, click the Preview button at the bottom of the page. If nothing seems to happen, please check the pop-up blocker settings of your web browser and select "Allow for this page" (the message may differ by web browser). In most web browsers a notification appears in the top right corner if a pop-up is blocked.
Image Editor
To view the images that have been added to the product datasheet, go to the Images section. Here you can see the images you have uploaded and attached to the product.
Note that there are four different types of images. The main images are those images which the customer will see in an image carousel on the shop website. They should be of a good quality - as indicated by the resolution display - and present your product in an optimal way. To add a new image, click on Upload new or Add from library.

Upload new allows you to browse the files on your computer and upload a new image from there.
Add from library opens a dialogue which shows you any images you have previously uploaded. Search for the image name, or page through the images, then click on the image you wish to add, and click Add.
If you have several images loaded you can change the order of the pictures by clicking on the picture you want to move, and then clicking the up and down arrow keys to the right of the pictures.
The small images are displayed in different positions in the shop, like product recommendations and product search results. By default, they will be the same as the first big image that you add once you publish your datasheet. If you would like a different image to be displayed in the list of search results etc., you can replace it by clicking on Upload new or Add from library.
If you add more than one main image, or replace your main image, you can update the small images, by first selecting the main image you want to use, and the clicking on Same as main. The main image will then automatically be copied to the small image.
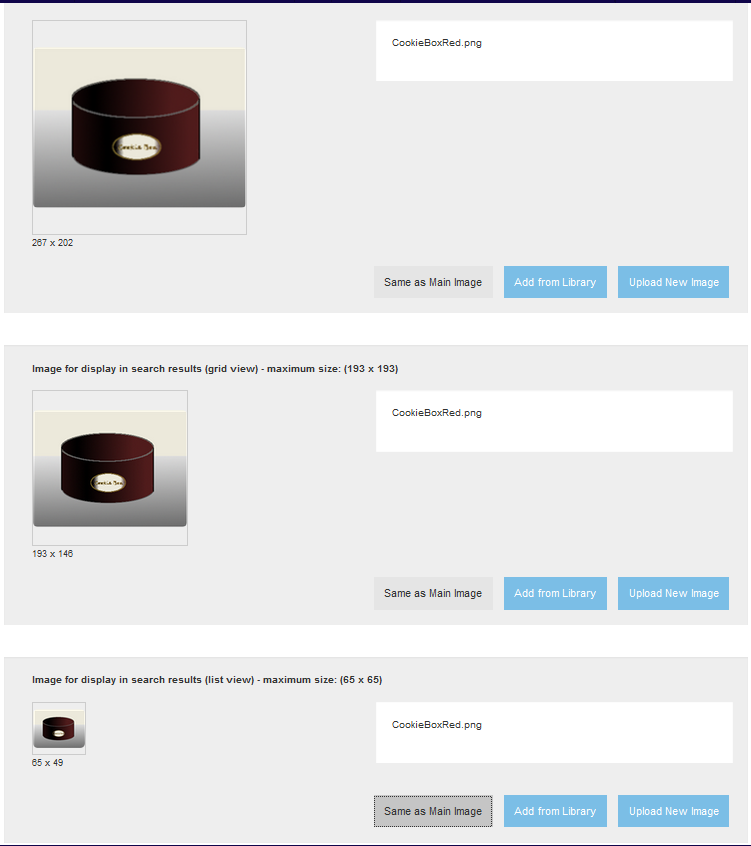
To remove an image from the main images carousel, click on "Delete". To change a small image, replace it with another image or click on Same as Main Image, to replace it with the currently selected main image above.
The image editor does not have a Save button, and the information is automatically stored as it is updated.
Multipack products
Adding a multipack product
Should your product be a multipack containing different sub-products, you can create different tabs for each multipack item, by clicking on Add multipack at the bottom of the datasheet editor. A multipack product would for example be a cookie box, with a set of cookies with different flavours and fillings.When adding a multipack item, you will be directed to a new page, where you can enter the name of the item, for example a strawberry cookie. New items will appear in the order that they are added.

Add multipack creates a new tab in the datasheet for a multipack item that is part of the overall product. Cancel returns to the datasheet without making any changes.
Note that the multipack items only show in the datasheet sections where they are applicable. Not every section provides separate fields for each multipack item.
Note that adding multipack items here does not link existing product datasheets. You are required to add the product information for each tab of the multipack item in the multipack datasheet.
Here an example of a multipack product in a food template:
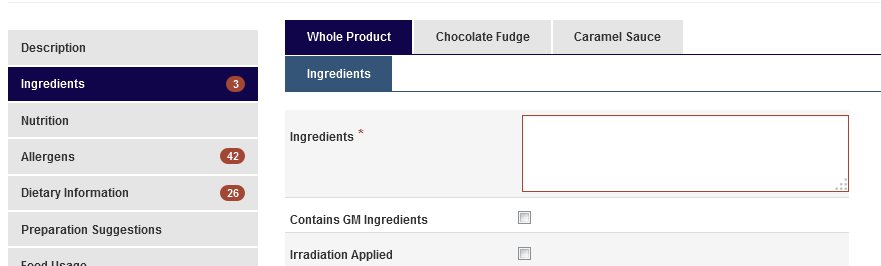
The Whole Product tab describes the data of the overall product. For example if your product was a cookie box with different types of cookies, you would be required to enter the sum of all the chocolate, banana and strawberry cookies' ingredients, nutrition etc. (This may not be applicable in all cases.)
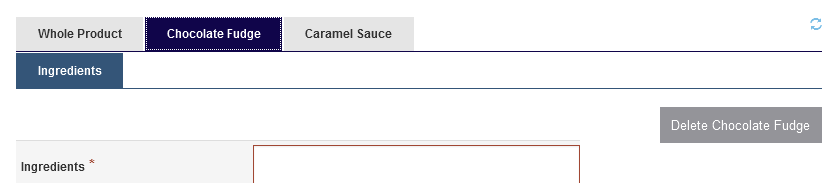
Deleting a multipack product
When navigating through the multipack item tabs, for example in the ingredients or nutrition section, if you are working with a food template, you will see a button with which you can delete the multipack item. Note that by clicking on the Delete button all the information for that item will be deleted from all sections in the datasheet.